Meshtastic Maps Build Guide
Ready to go Maps. Tested on T-Deck plus
Folder Structure: maps/ATLAS_NAME/zoom/x/y.png
For LA maps: Create the folder 'maps' at the main 'root' directory
Create another folder: EX: LA_Area
Extract the ".tar" in that folder: Your structure should be correct
Download Map Pack
Comprehensive map coverage for Southern California and high-definition areas
Los Angeles region at zoom level 13 for general navigation
Detailed Los Angeles coverage at zoom level 14
🧭 Project Overview
meshtastic:2.6.10
This guide documents how I got maps running on my LilyGO T-Deck Plus running Meshtastic UI — fully offline, field-ready maps.
The process starts with generating tile maps using Mobile Atlas Creator (MOBAC), converting the tiles into a format the T-Deck firmware can read, and loading them onto the device.
🚀 Build Steps
- Install Java:
sudo apt install default-jre - Verify Java:
java -version - Download Mobile Atlas Creator (MOBAC) from SourceForge and unzip it.
- Run MOBAC:
java -jar Mobile_Atlas_Creator.jar - Select your map source:
- OpenStreetMap Mapnik
- OpenTopoMap
- USGS National Map Topo (be careful — see notes below)
- Select your region, set Zoom levels (10–14 worked well).
- Set Atlas format:
OsmAnd tile storage - Generate the map atlas.
⚠ Notes on Tile Formats
OsmAnd tile storage gives the correct folder structure:
/maps/<atlas_name>/zoom/x/y.png
HOWEVER — many tiles output as JPEG with a .png extension — causing "Failed to load tile" errors on the T-Deck.
To fix this, I used ImageMagick to convert them to true PNG:
sudo apt install imagemagick

find . -type f -name "*.tile" -exec bash -c 'f="{}"; out="${f%.tile}.png"; convert "$f" "$out";' \;

find . -type f -name "*png.png" -exec bash -c 'f="{}"; mv "$f" "${f/png.png/.png}"' \;
After this, run a sanity check:
find . -type f -name "*.png" -exec file {} \; | grep -v "PNG image data"
If no output, all tiles are now valid PNGs!
📦 Load Tiles onto T-Deck
Copy the corrected /maps/<atlas_name>/zoom/x/y.png directory to the root of your T-Deck’s SD card.
On boot, Meshtastic UI will load /maps/<atlas_name> and display your map.
🌟 Advanced Tip: Atlas Switching
The atlas_name folder is fully user-modifiable.
You can name this Tacos for example. On the T-Deck, long-press the "Map" tile (lower left), and a dropdown will appear allowing you to select which Atlas to load.
This enables you to have multiple maps for the same region:
e.g. one for public transport, one for topographic, etc.
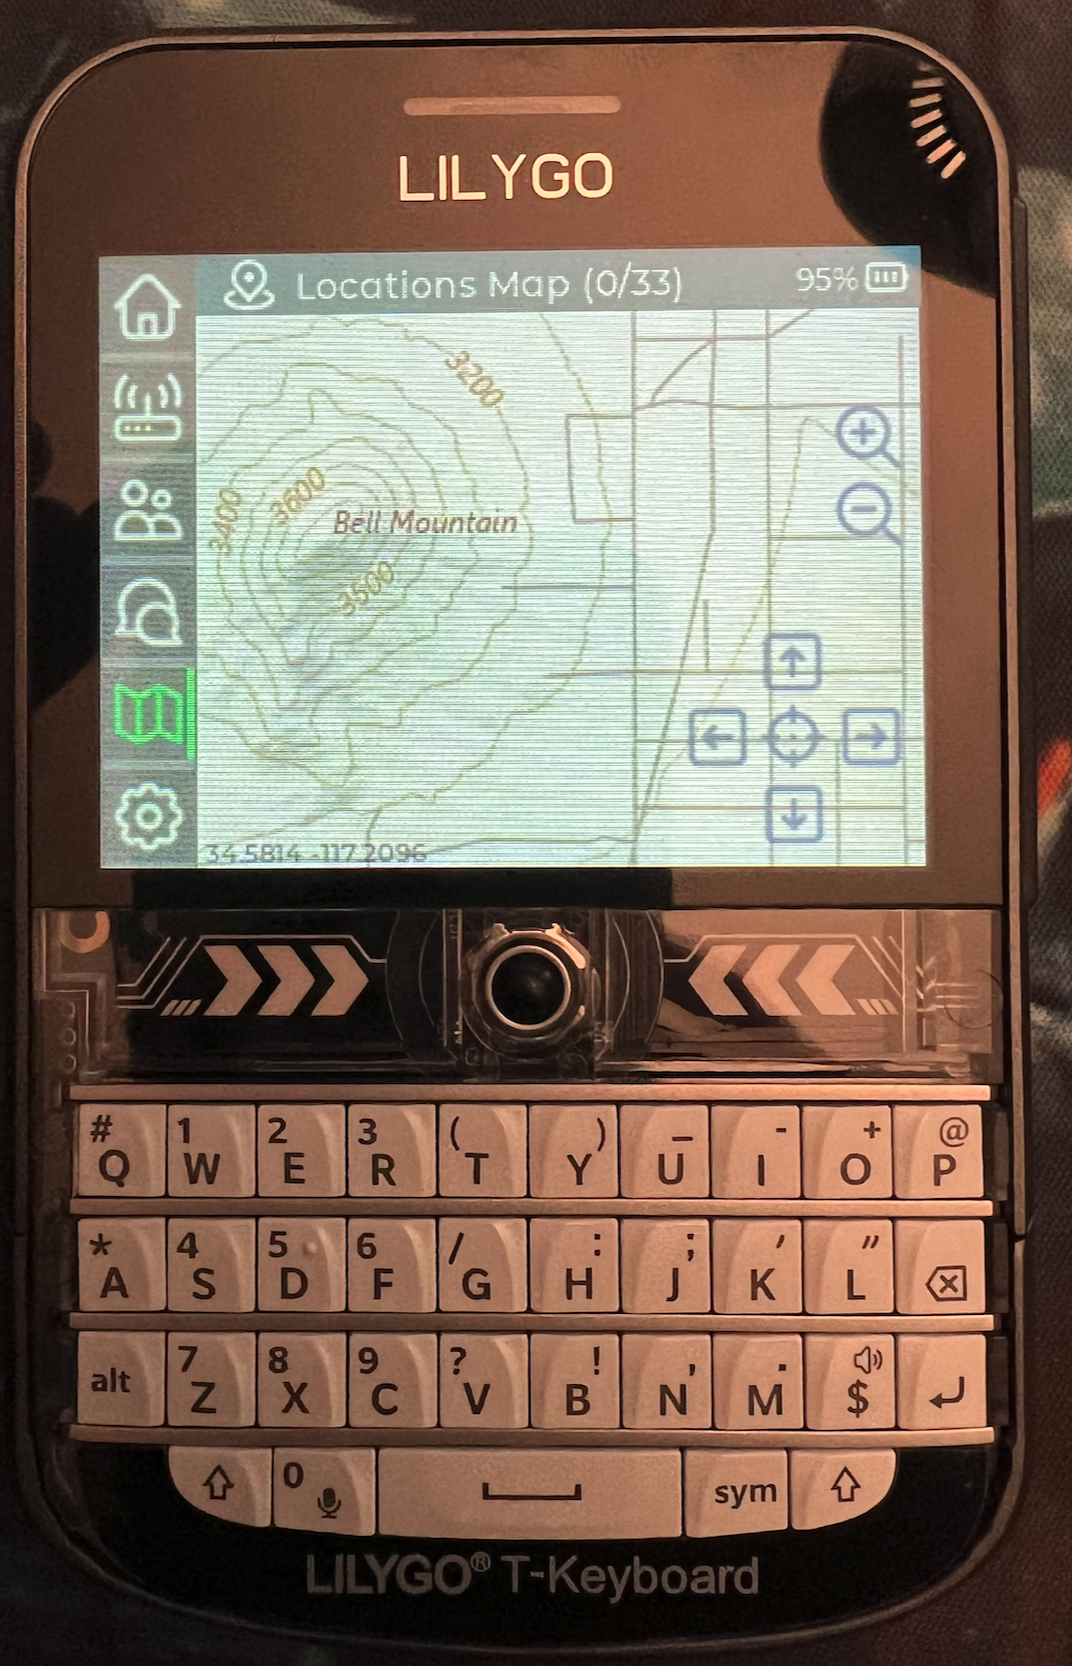
✅ Final Result
Once I completed this process, I was able to load my map (USGS Topo around Bell Mountain, CA) onto the T-Deck — fully offline, readable in sunlight, and swappable on demand.
Field-tested and working!